Step 1: Install A Site Migration Plugin
- Download this special version of All In One WP Migration Plugin
- Log in to your WordPress admin dashboard, then Plugins > Add New
- Upload the downloaded Plugin by clicking on the Upload Plugin Button at the top of the page
- Once plugin installation completes, click on Activate Plugin.
Step 2: Take A Backup Of The Local Site
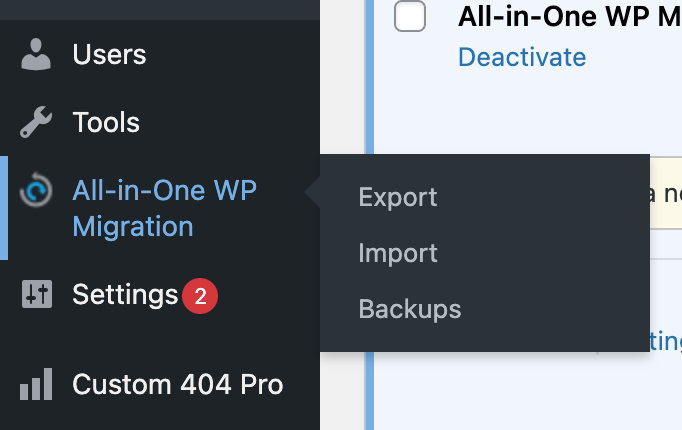
- Click the All-In-One WP Migration > Backups
- Click the Create Backup button. You’ll see another page titled “Export Site”
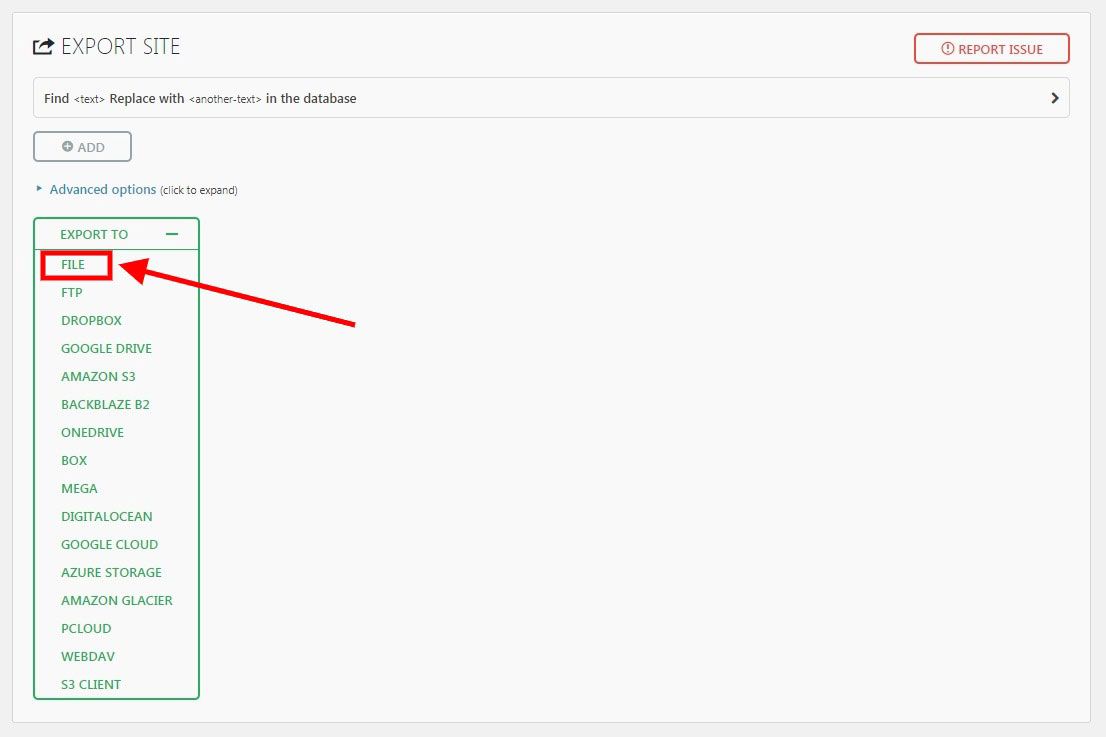
- Now, on the Export Site page, click the green “Export To” Button, and click File. This begins an archiving operation of your website files into a downloadable file. This can take some time depending on the size of your website and quality of host.
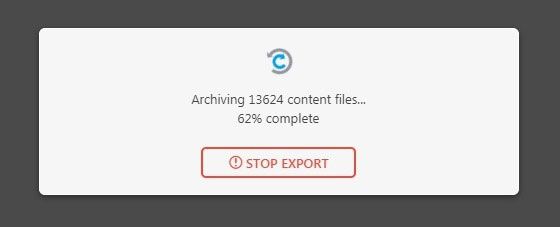
- When the above archiving operation is complete, you will be prompted to click on a big Download button. Click on the button to download a copy of your ful website backup. It is a .wpress file. Once your .wpress file download is complete, it is time for migration to the new host.
Step 3: Restore The BackUp Through FTP or cPanel
We highly recommend uploading the backup .wpress file through cPanel, as it has proved the most error-free and cleanest method. It also bypasses the popular issue of getting stuck at 0% or Upload taking forever while directly uploading the backup file through the plugin’s interface.
- First and foremost, make sure that you have install a fresh version of WordPress on the destination hosting account.
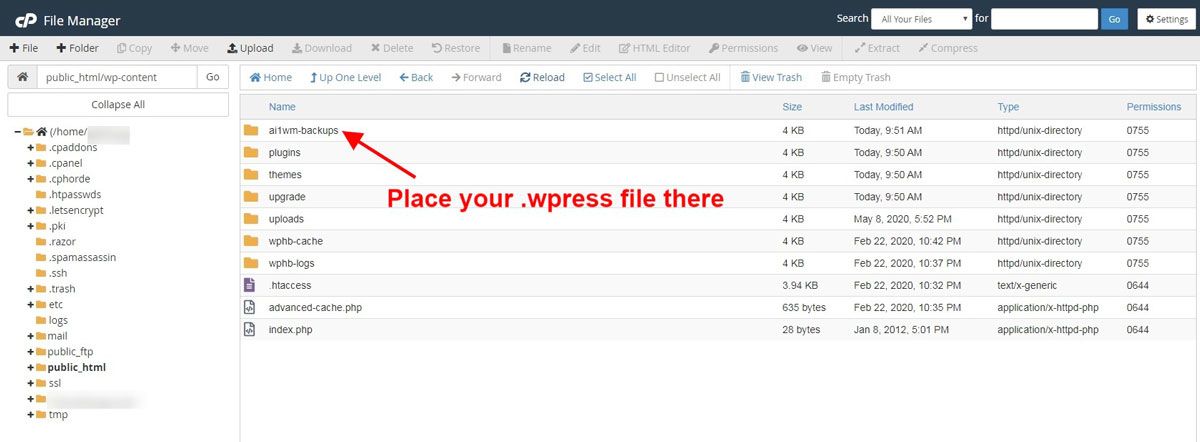
- Login to your hosting cPanel and click File Manager
- Navigate to public_html > wp-content > ai1wm-backups and upload your .wpress file there.
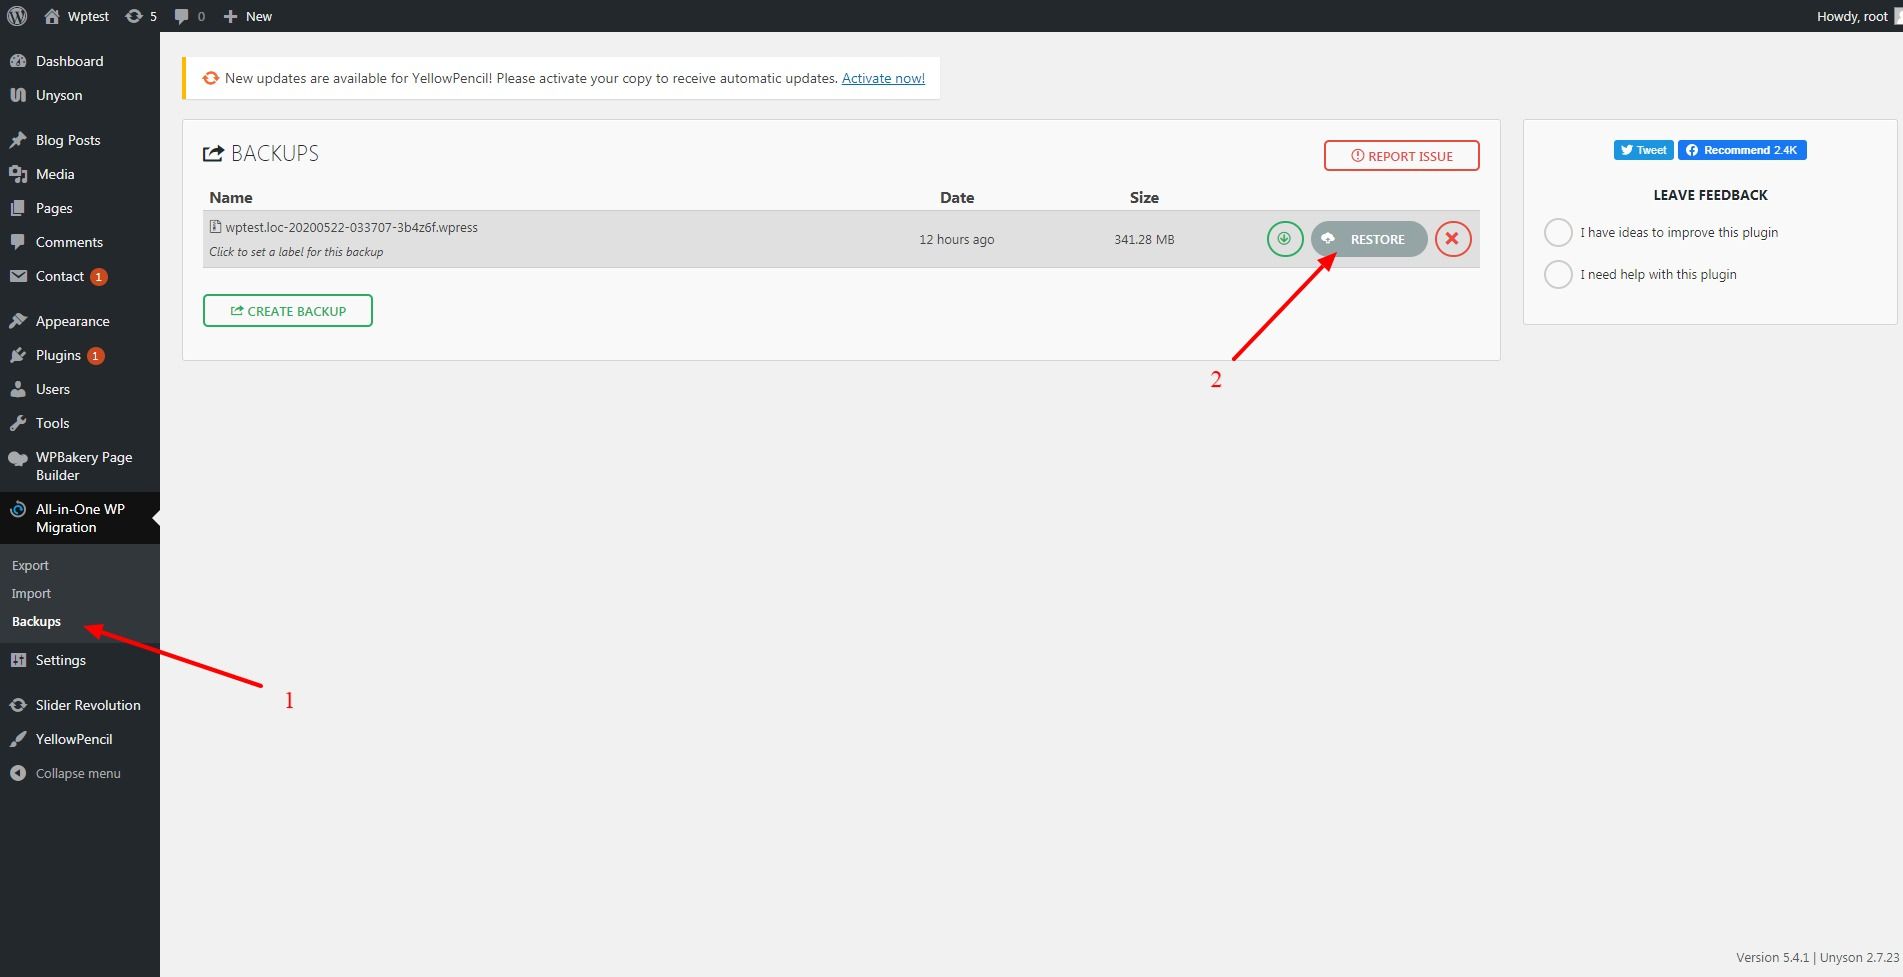
- Once the .wpress file is successfully uploaded inside the ai1wm-backups directory, you’ll need to go to your Admin dashboard again then > All-In-One WP Migration > Backups again so that you can use the Restore feature.
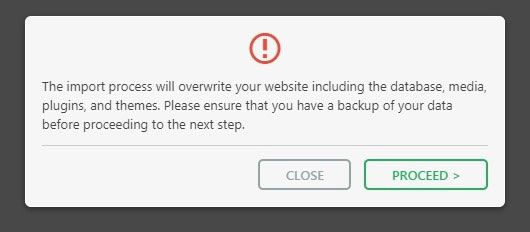
- After you initiate the restoration process, you’ll get a popup notifying you that your current site data we’ll be overwritten with the new restoration. Click on Proceed.
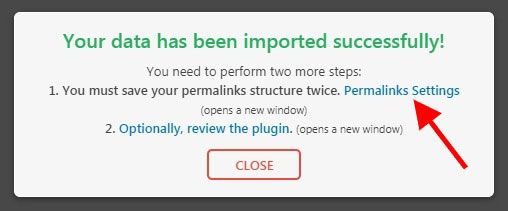
- Now that your backup restoration has finished. You have one more thing left to do, which is to update your permalinks settings. Basically all you just need to do is click on the Save button to save them again. Congrats!! Your migration process has been successfully completed.